It's so boring when in your mind there are so many projects and creative ideas but your time doesn't look enough.
There are a lot of obligations before pleasures, but I hope I will post more soon, I have nice newness to share!
Starting from this so easy diy (I love "so easy" projects!).
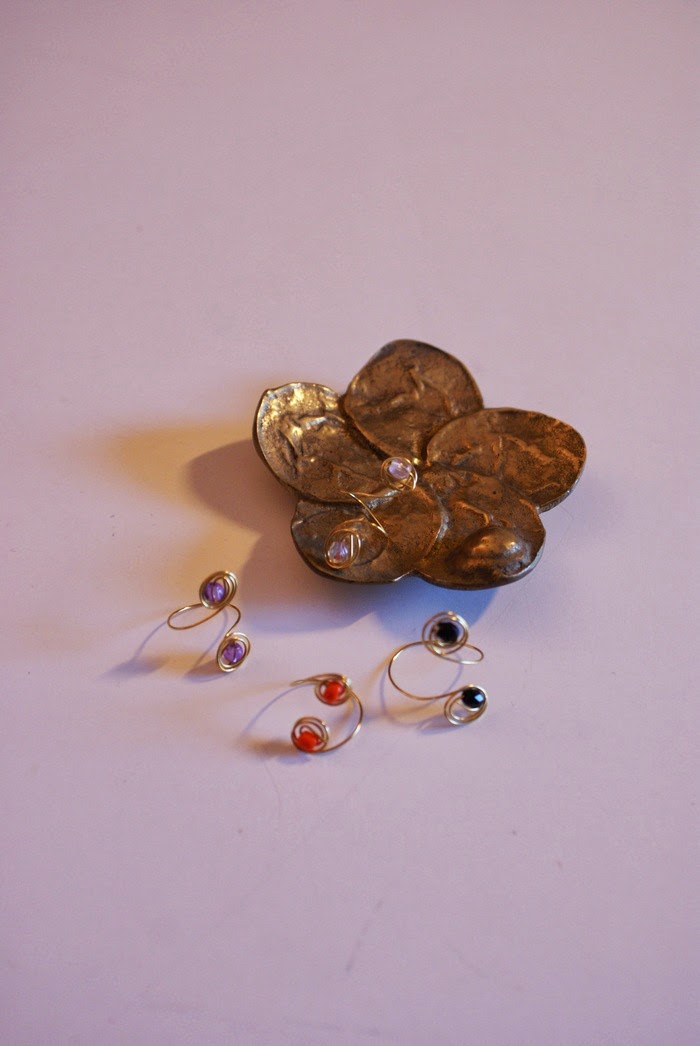
It's a wire midi ring, and let's see together how to make it :)
//
Che noia avere in mente tante idee creative e progetti, ma non il tempo sufficiente per realizzarli.
Ci sono un sacco di doveri prima dei piaceri, ma spero di riuscire a postare presto qualcosa in più, ho delle belle novità da condividere!
A partire da questo semplicissimo diy (amo i progetti semplicissimi!).
Si tratta di un anellino in filo metallico, vediamo insieme come farlo :)
***
You need // Vi serve:
- About 15 cm of wire (I chose gold-colored one, my favourite at the moment). // Circa 15 cm di filo metallico (io ne ho scelto uno color oro. il mio preferito al momento).
- Plastic or swarovski beads. // Perline di plastica o swarovski.
How to // Come procedere:
1)
First, choose the color of your beads. I like same-colored ones, but you can also opt for different shades. Then, take the wire and insert one bead in one of its extremities, curving the wire around the bead with the pliers, and keeping it attached to the bead. // Innanzitutto, scegliete il colore delle vostre perline. A me piace usarne di uguali, ma potete optare anche per tonalità diverse. Dopo, prendete il filo metallico, infilate una perlina ad una delle estremità, curvando il filo con le pinze intorno ad essa e tenendolo ben attaccato ala stessa.
2)
Now the fun part: start rolling up the wire around your bead, so many times as you want your ring twisted, but keeping in mind that the wire is not unlimited :D I made three twists, for having sufficient wire to finish the ring.// Ora la parte divertente: cominciate ad arrotolare il filo metallico intorno alla vostra perlina, tante volte in base a quanto attorcigliato volete l'anello, senza dimenticarvi però che il filo non è infinito :D Io ho fatto tre giri, per avere filo sufficiente a finire l'anello.
3)
Place the wire around your finger and start giving the shape of your finised ring. It's so easy modelling the wire, not? // Posizionate il filo sul vostro dito e iniziate a dare la forma del vostro anello finito. È così semplice modellare il filo, no?
4)
Insert the other bead in the opposite of the wire, as the same way as the first one, and repeat the point 1 to fix it. // Inserite l'altra perlina alla parte opposta del filo, allo stesso modo della prima, e ripetete il punto 1 per fissarla.
5)
Roll up the second bead around the wire, putting on your ring for realizing the right size. You'll be pleasantly surprised by the facility of doing it, and you'll want create more and more rings, in every color and dimension! I love rings like these, they look like "important" ones, but take you just few minutes for creating them, needing cheap materials and some creativity and giving you the opportunity of sharing them in every occasion. In other words: the perfect diy for the week-end! // Arrotolate la seconda perlina intorno al filo, indossando il vostro anello per capire la giusa misura. Resterete piacevolmente sorpresi dalla facilità nel farlo, e vorrete creare tanti e tanti anelli in più, in ogni colore e dimensione! Io amo anelli come questi, sembrano "importanti", ma ti rubano solo pochi minuti, con materiali economici e un po' di creatività ti danno l'opportunità di mostrarli in ogni occasione. In altre parole: il diy perfetto per il week-end!
Happy creative Sunday! // Felice Domenica creativa!
xx


Bellissimi! Brava!
ReplyDeleteWow beautiful blog!
ReplyDeleteGrazie! Thanks! :)))
ReplyDelete